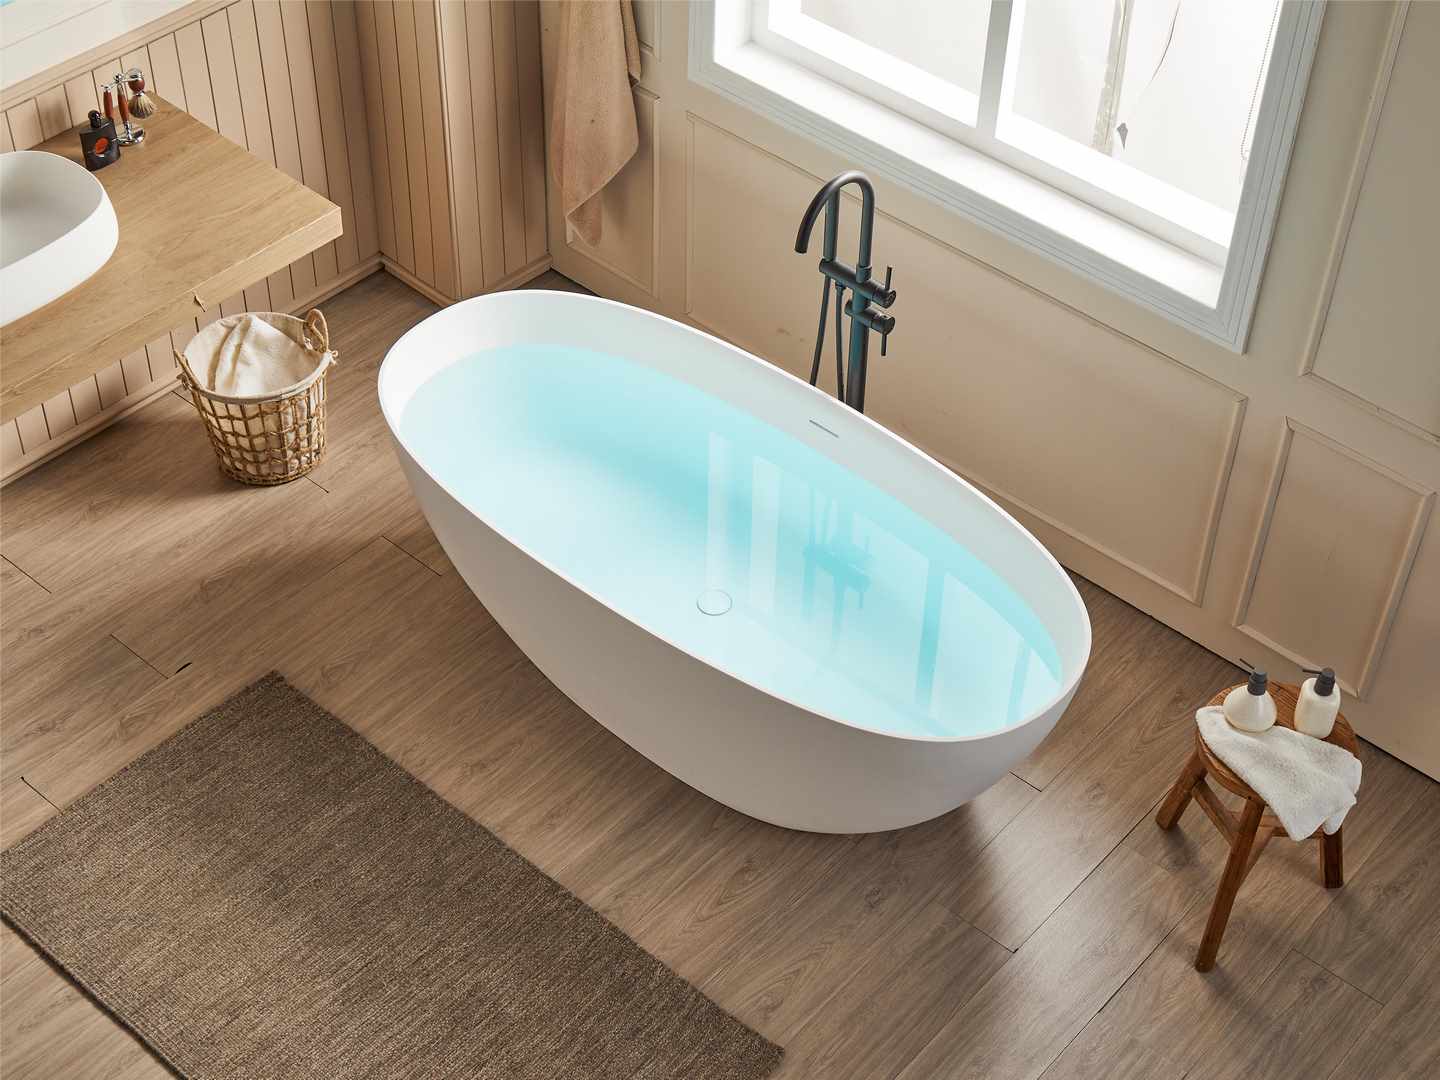
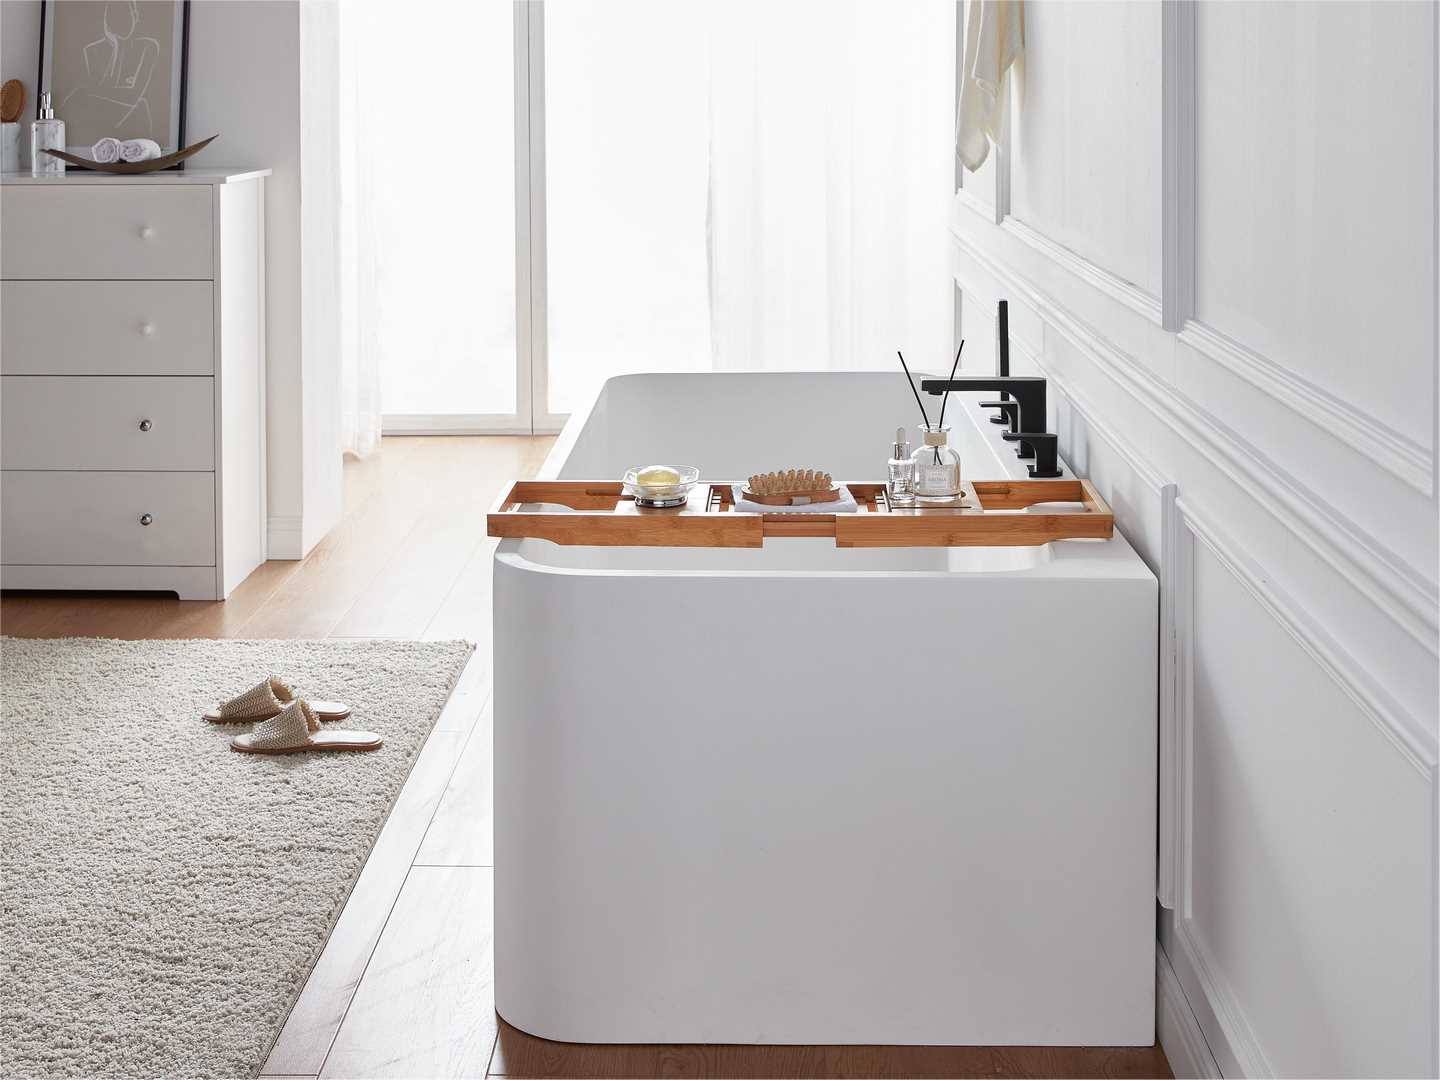
12 Solid Surface Bathtub Installation Tips for Builders
Introduction
Installing a solid surface bathtub? Here’s what every builder needs to know.
Whether you’re a pro or tackling this for the first time, getting it right matters. A flawless install means no leaks, no stress, and a bathtub that lasts.
This guide breaks down the 12 key steps to nail the job—from prep to finishing touches. Skip the guesswork and avoid common pitfalls with clear, practical advice.
Also worth checking out: What Is a Solid Surface Bathtub, How Wide is a Standard Bathtub, Best Solid Surface Bathtub
Ready to get it done right? Let’s dive in.

12 Steps to a Flawless Solid Surface Bathtub Installation
Installing a solid surface bathtub? Do it right the first time with these key steps—no leaks, no regrets.
1. Check the Floor Level First
A wonky floor means a wobbly tub. Use a level to confirm the surface is even before starting.
2. Inspect for Damage Before Installing
Look for cracks, chips, or scratches. If the tub’s damaged out of the box, don’t install it—get a replacement.
3. Align the Drain Perfectly
The tub’s drain must match the floor drain. Misalignment now means leaks and headaches later.
4. Team Lift – Don’t Go Solo
These tubs are heavy. Two people make moving and positioning safer and easier.
5. Protect the Surface During Install
Lay down cardboard or carpet to prevent scratches while maneuvering the tub into place.
6. Connect the Drainpipe Properly
Most tubs come with a flexible drain hose—use it. No need to buy extra parts unless specified.
7. Reinforce the base for stability during installation
Use temporary support materials, such as wooden or metal brackets to support the bottom, evenly distributed around the bottom and around the tub to ensure that the weight is not concentrated in one place to prevent shifting or tipping over time.
Temporary support materials need to be removed after the tub is installed.
8. Seal Wall-Mounted Tubs Tight
Run a bead of neutral silicone along the edges to block water from seeping behind the tub.
9. Leave Access Space for Freestanding Tubs
Keep a small gap between the tub and wall for future plumbing access.
10. Level Drop-In Tubs Before Sealing
Ensure the platform is perfectly flat, then leave a 1-2 cm gap for sealant to fill.
11. Clean Up Excess Adhesive Immediately
Wipe off any leftover silicone or glue before it dries—sloppy residue looks unprofessional.
12. Test for Leaks – Don’t Skip This!
Fill the tub and let it sit for 24 hours. Check underneath for any drips before calling it done.
Final Tip: Take your time. Rushing leads to mistakes—and nobody wants a leaky bathtub. Follow these steps, and your install will be rock-solid.

Conclusion
This article covers 12 essential steps for installing a solid surface bathtub, guiding builders through the process from checking floor levelness to performing a leak test.
Key concerns often include ensuring proper drain alignment with the floor, securing the bathtub base to prevent tipping, and sealing edges to avoid water seepage in wall-mounted tubs.
These steps are crucial for addressing common issues and ensuring a stable, leak-free installation.
By following these tips, builders can confidently complete installations, avoid costly mistakes, and deliver high-quality results for clients.
Welcome to know more detailed information about products in Cpingao:
