How to Set a Soaking Tub: A Step-by-Step Guide for a Perfect Installation
Introduction
At Cpingao, we understand that setting a soaking tub can be both an exciting and challenging project.
We agree that a well-installed soaking tub not only elevates the aesthetic of your bathroom but also enhances your relaxation experience.
In this article, we’re committed to guiding you through the process by exploring six crucial aspects: planning and preparation, pipeline location, installing the bathtub, testing, finishing touches, and maintenance.
Additionally, we'll preview ten key considerations when choosing the right bathtub design and bathtub manufacturer.
By the end of this guide, you'll have a clear understanding of how to set a soaking tub that fits perfectly with your bathroom's design and meets your functional needs.
Let's dive in and transform your bathroom into a luxurious retreat!
1. Planning and Preparation
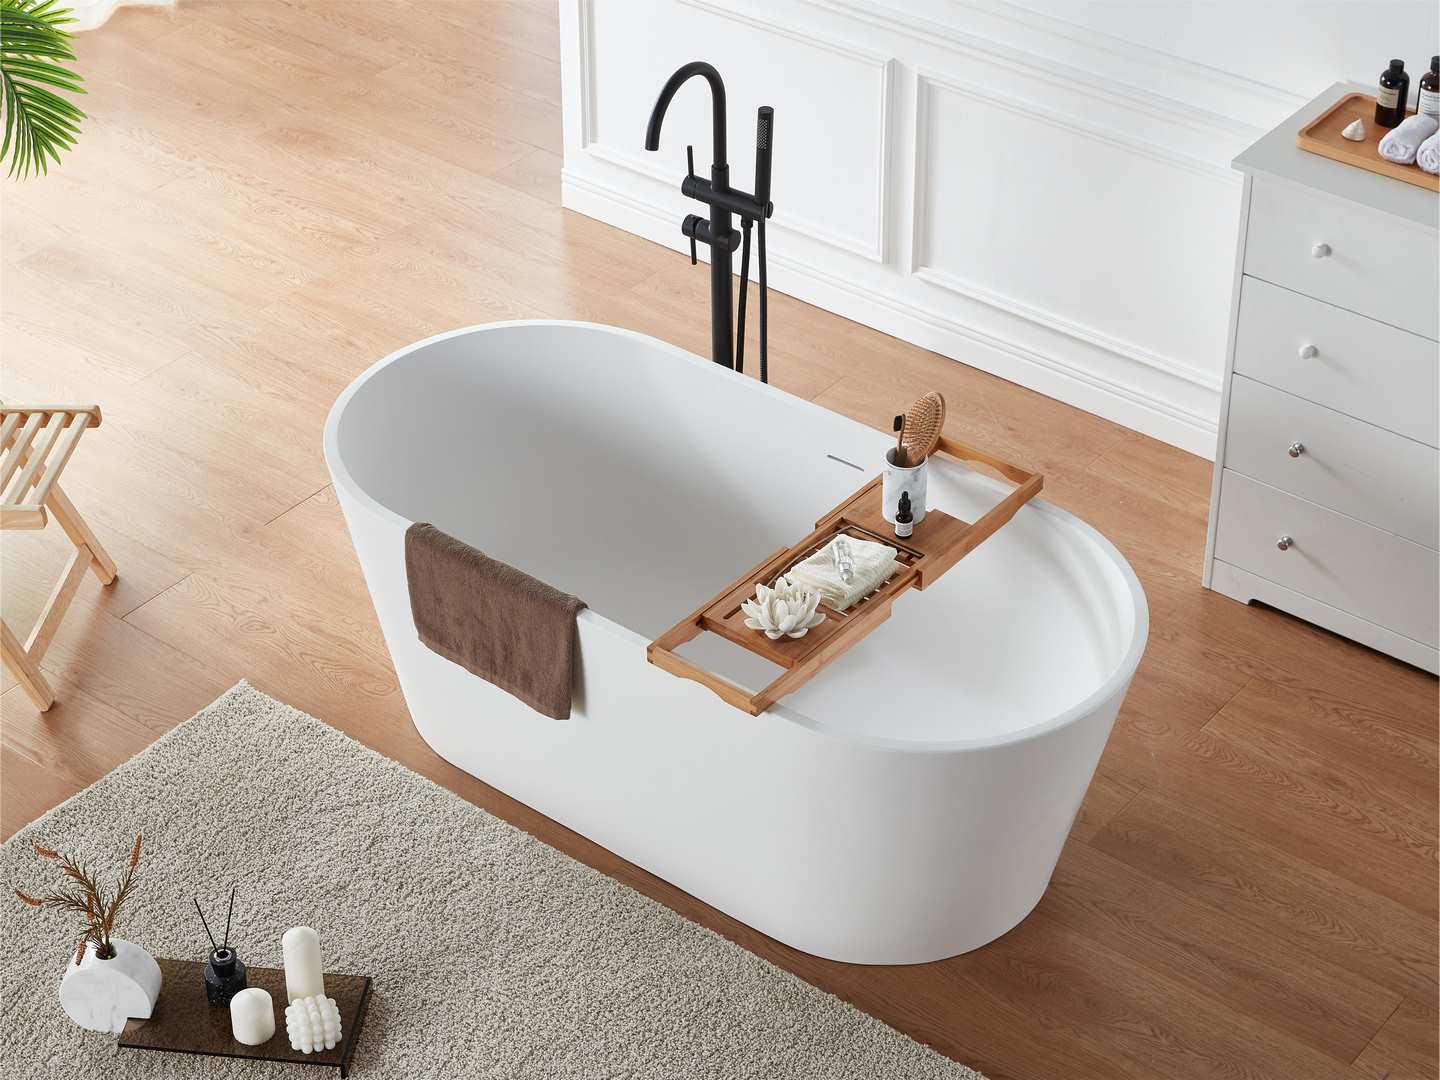
Setting up a soaking tub begins with meticulous planning and preparation, ensuring that every detail aligns with your bathroom's design and functionality.
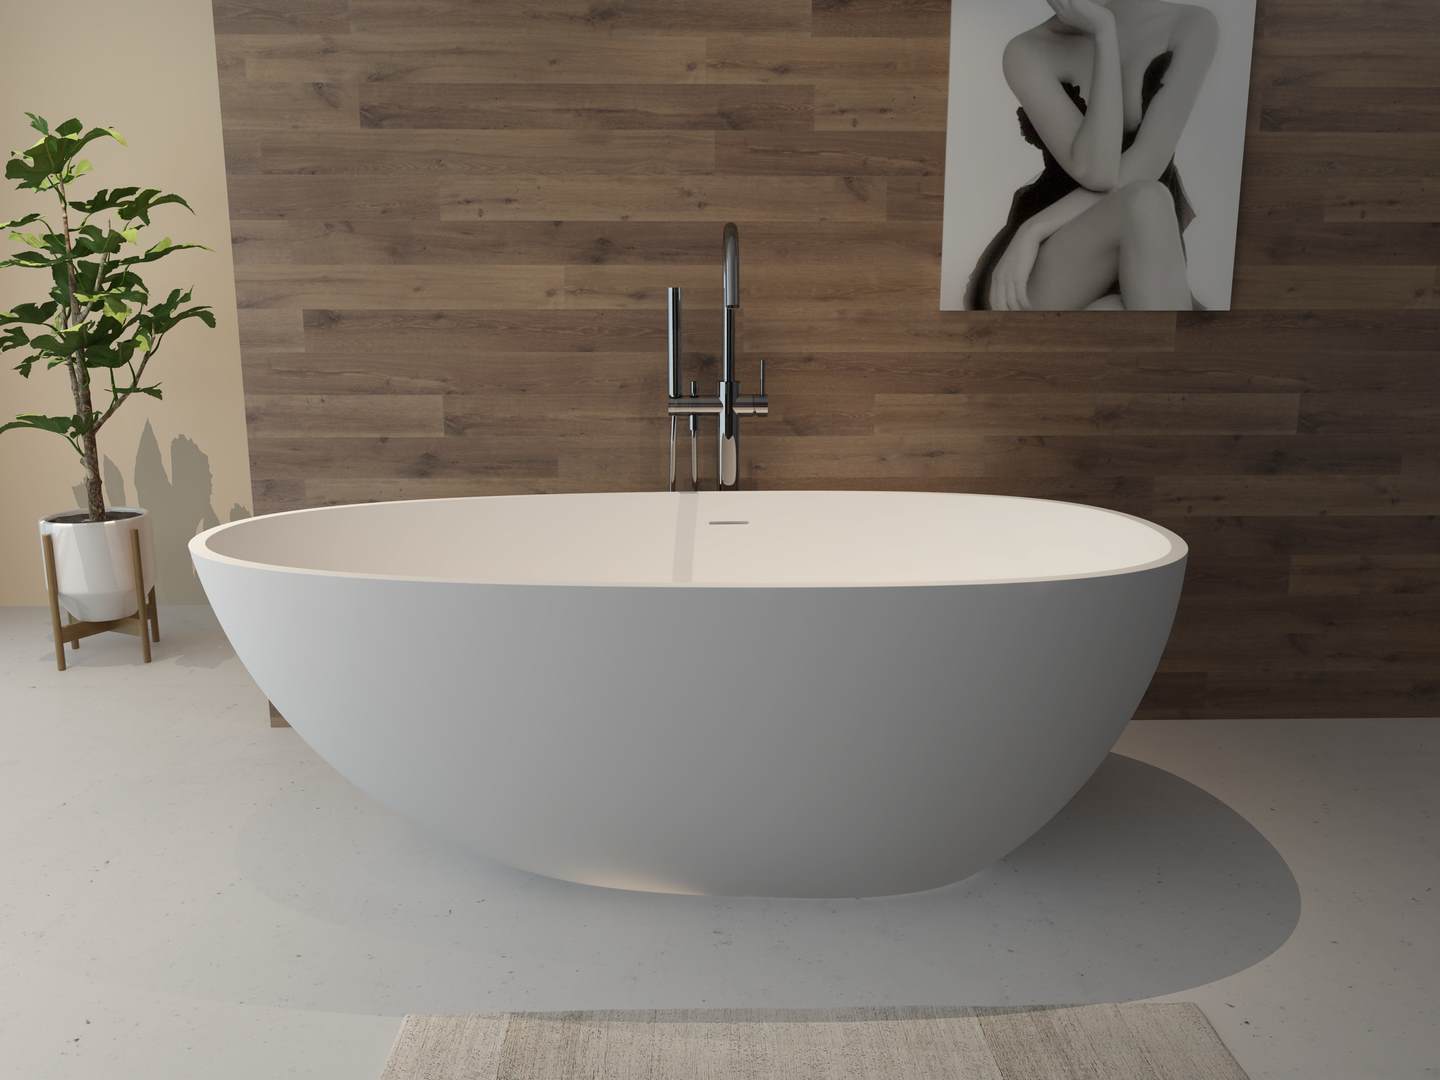
First, selecting the right material—whether acrylic, cast iron, or stone—will depend on your budget and aesthetic goals.
Each material offers a unique combination of durability, heat retention, and visual appeal.
Next, the location of your soaking tub is critical. The chosen space should be well-ventilated to prevent moisture issues and have adequate natural and artificial lighting to create a relaxing ambiance.
Standard tub dimensions range from 60 to 72 inches in length and 30 to 36 inches in width, so it’s important to ensure the tub fits comfortably within your bathroom.
Consider the ease of moving the tub into position, as well as having enough space around it for installation and other bathroom essentials.
Additionally, it’s essential to check whether the entrance to your bathroom can accommodate the tub during installation.
Floor load-bearing capacity is another crucial factor—make sure your bathroom floor can support the weight of the tub when filled with water.
Lastly, prepare your plumbing by cutting the water pipes to the right length and combining them with elbow fittings, ensuring the drain pipe is ready for a seamless installation.
This initial step is foundational to the successful installation of your soaking tub, setting the stage for the subsequent stages in the process.
2. Pipeline Location
Proper pipeline location is crucial for ensuring that your soaking tub functions efficiently and reliably.
Start by choosing the right materials for your water supply lines—copper or PEX pipes are recommended due to their durability and flexibility.
It's essential to insulate these pipes, especially the hot water lines, to maintain water temperature and energy efficiency.
Another critical consideration is your water heater’s capacity.
A soaking tub requires a substantial amount of hot water, so you may need to upgrade to a larger water heater tank or opt for a tankless system that can provide a continuous flow of hot water without running out.
When setting up the sewer pipe connection, the height must be compatible with the specific type of bathtub you’ve selected.
This detail should be carefully discussed with your tub supplier to avoid installation issues. Ensuring that the drain pipe is correctly aligned with the bathtub drain is also vital.
The drain assembly must be precisely fitted to allow the bathtub’s drain to connect perfectly with the floor, ensuring no leaks or drainage problems.
Lastly, make sure your drainage system is connected to a ventilation chimney.
This connection allows air to enter the system, preventing vacuum formation and ensuring a smooth, uninterrupted flow of water.
Proper venting is often overlooked, but it’s essential for preventing drainage issues and maintaining the efficiency of your soaking tub.
3. Installing the Bathtub
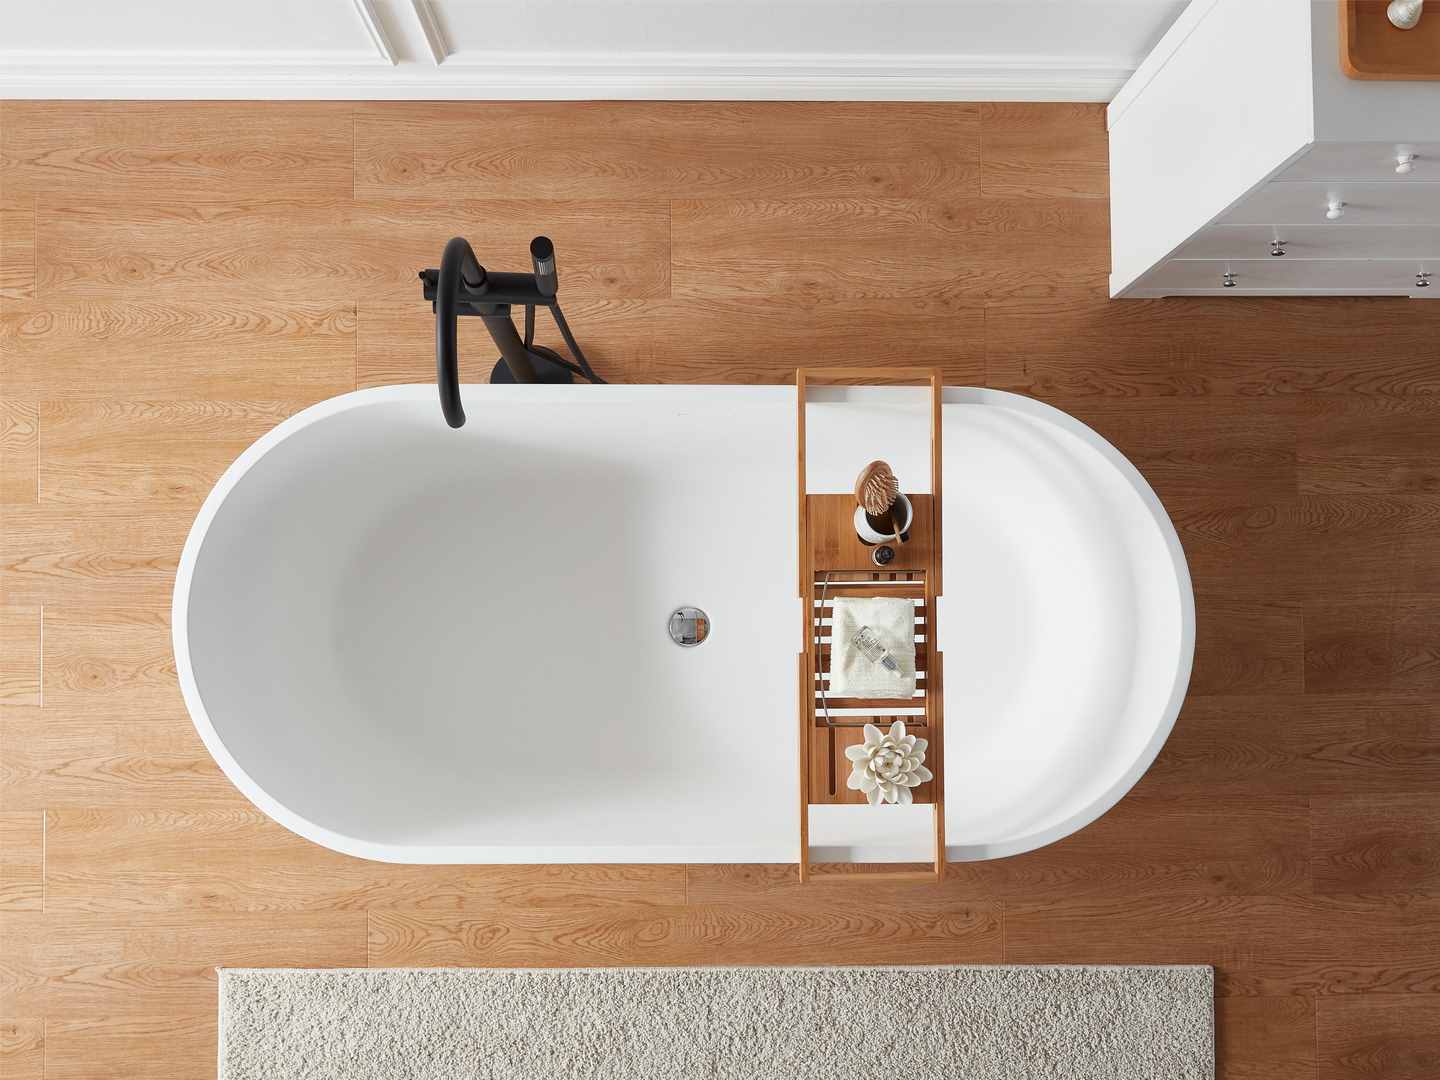
The installation of your soaking tub is a pivotal step that demands precision and attention to detail.
Begin by ensuring that the ground where the bathtub will be placed is perfectly flat. If necessary, adjust the ground level to achieve a stable and even surface, which is critical for the tub's stability and longevity.
Next, carefully connect the drain pipe to the bathtub and integrate it with the rest of the plumbing system.
This step also involves installing essential accessories like faucets and valves, which should be done meticulously to avoid any future leaks or malfunctions.
Sealing the connection between the bathtub, the floor, and the walls is crucial to prevent water seepage.
Proper sealing helps avoid sanitary dead corners, where water and moisture can accumulate, leading to mold and mildew issues.
Applying silicone caulk to the bottom of the bathtub where it meets the floor, as well as around the edges where it contacts the wall, is another essential step.
This creates a watertight barrier, preventing moisture from seeping underneath the tub and causing potential damage over time.
For added support, particularly in areas where handrails, faucets, or other fixtures will be installed, it's advisable to place wooden blocks inside the walls.
These blocks provide a solid anchor point, ensuring that screws and bolts hold securely, which is especially important for the longevity and safety of these fixtures.
Lastly, for heavier bathtubs, such as those made from cast iron, a mortar bed may be necessary.
To do this, spread a layer of mortar on the floor where the tub will sit, then carefully place the tub into the mortar.
Press down to ensure full contact between the tub and the mortar, providing a stable and secure base that will support the tub’s weight over time.
4. Testing
After the installation of your soaking tub, thorough testing is essential to ensure everything is functioning as it should.
Start by examining both the water supply and drainage systems for any signs of leaks.
Turn on the water supply, checking that the water temperature adjusts correctly and that the bathtub fills and drains efficiently.
The water storage and drainage systems should operate smoothly without any unexpected issues.
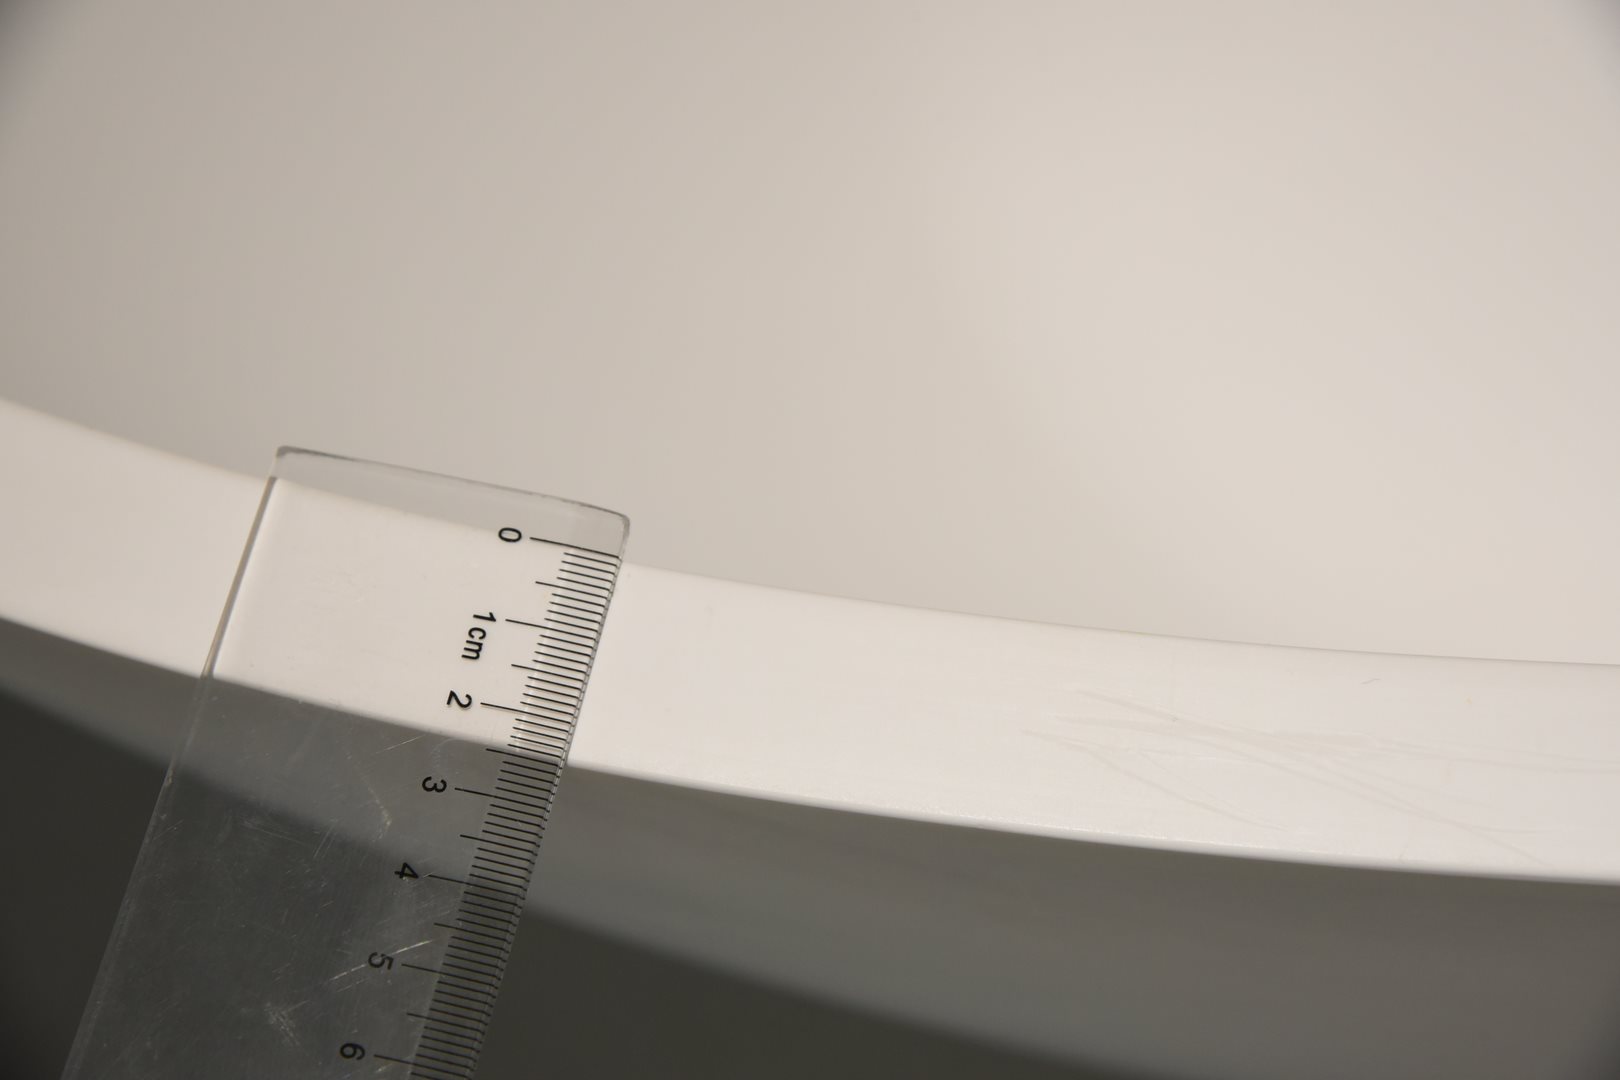
Next, fill the bathtub completely with water, and inspect all connections—especially around the drain and water supply lines—for any leaks.
It’s important to let the water sit for a few minutes to detect even the smallest leaks that might not be immediately visible.
Once satisfied that there are no leaks, open the drain and observe the water flow.
Ensure that it drains quickly and efficiently, without leaving any stagnant water behind.
Proper testing at this stage will prevent future problems, saving time, money, and hassle down the line.
By verifying that your soaking tub's plumbing and installation are flawless, you ensure that your new bathroom feature will provide the relaxing experience you’ve envisioned.
5. Finishing Touches
With your soaking tub securely in place and thoroughly tested, it’s time to focus on the finishing touches that will not only enhance the appearance of your bathroom but also ensure long-term functionality.
Start by installing any necessary accessories, such as sensors or smart devices, which can be easily attached once the bathtub is installed.
These modern features can add a layer of convenience and luxury to your soaking experience.
If your design includes tiles around the bathtub, it’s important to begin with a waterproof backer board.
This board provides a solid, moisture-resistant foundation, which is crucial for preventing water damage.
Once the backer board is in place, apply the tiles using a thin-set mortar, ensuring a strong and durable bond.
After the tiles have been installed, use a high-quality grout sealant to seal the grout lines.
This not only enhances the look of the tiles but also protects against water infiltration, keeping your bathroom looking pristine for years to come.
For plug-in bathtubs, where the pipes may need to be enclosed, it’s essential to create an access panel.
This panel allows for easy maintenance in the future without the need to remove tiles or disrupt the walls.
By thinking ahead and including an access point, you ensure that any necessary repairs or adjustments can be made with minimal disruption, preserving the integrity of your bathroom design.
These finishing steps are key to achieving a polished, professional look while ensuring that your soaking tub remains a durable and functional centerpiece in your bathroom.
6. Maintenance
Proper maintenance of your soaking tub is essential to keep it looking pristine and functioning flawlessly for years to come.
Start by regularly cleaning the tub’s surface with a non-abrasive cleaner.
This helps prevent the buildup of soap scum, mineral deposits, and other residues that can dull the finish and create an unsightly appearance.
Avoid harsh chemicals or abrasive scrubbing tools, as these can damage the surface of the tub, especially if it's made of materials like acrylic or enameled cast iron.
In addition to surface cleaning, it’s important to check the surrounding caulking regularly.
The caulking around the edges of the tub, where it meets the floor and walls, plays a crucial role in preventing water from seeping into areas where it can cause damage.
Over time, caulking can wear out, crack, or peel away, leading to potential leaks and water damage.
Inspect these areas periodically and reapply caulk as needed to maintain a watertight seal.
By incorporating these simple maintenance practices into your routine, you’ll ensure that your soaking tub remains a beautiful and functional centerpiece in your bathroom, providing you with a luxurious and relaxing bathing experience every time.
Conclusion
In this guide, we covered the essential steps on how to set a soaking tub, from initial planning and preparation to the final touches and ongoing maintenance.
Among these steps, Planning and Preparation and Installing the Bathtub tend to be the most popular, as they directly impact both the functionality and aesthetics of the installation.
These stages also typically have the highest purchase rates, given their critical role in ensuring a successful outcome.
On the other hand, Pipeline Location and Maintenance are often viewed as more technical and may be less commonly discussed, yet they are crucial for long-term performance and durability.
Each step is vital, contributing to a well-rounded and professional soaking tub setup that enhances both your bathroom’s appeal and your bathing experience.
Welcome to know more detailed information about products in Cpingao: